Crafting Memories: 10 Nature-Inspired Activities For A Family Reunion
When I say Family Reunions what comes to mind?
I guess it depends what side of the family you are getting together with haha!
Family reunions are moments that bring generations together. Renting a cabin and having a comfortable place for everyone to gather would be the first step! Planning a menu and assigning families with what food to bring to contribute. Then lastly, having an activity to do that will keep everyone entertained and wanting to come back for the next reunion. What better way to bond than doing some fun creative activities together!
Here are 10 nature-inpired DIY activities for an unforgettable family reunion!
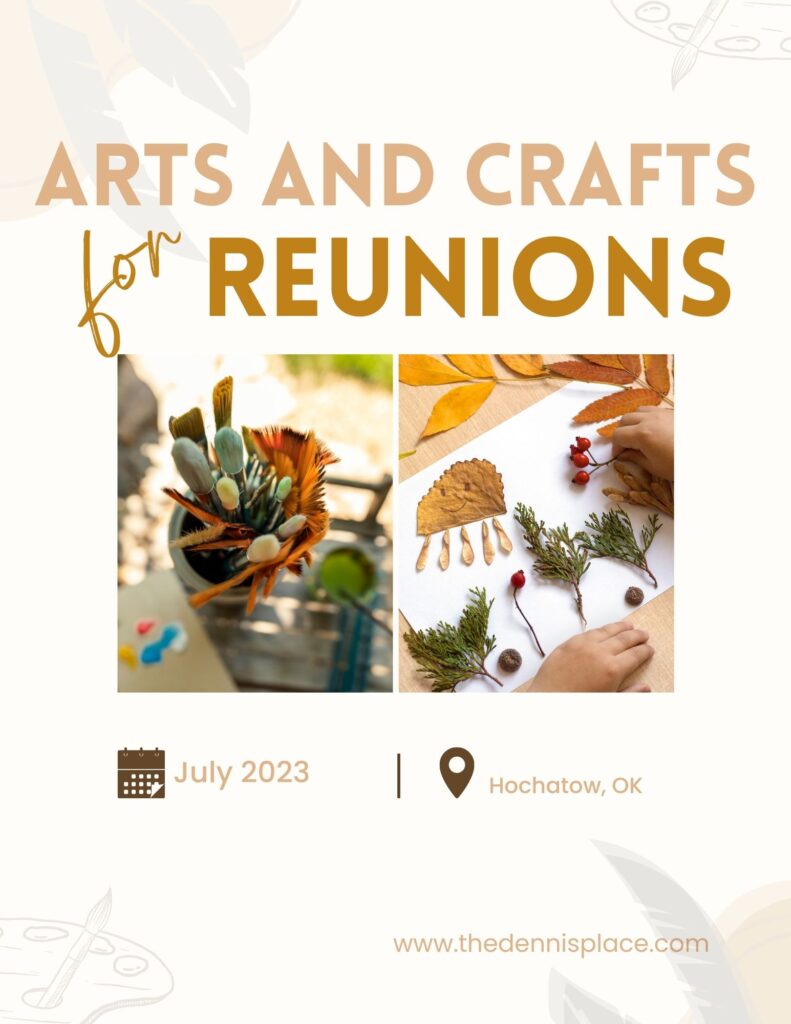
When you are preparing for the family reunion you can divide the crafts and activities throughout the day. For example at the beginning of the day when everyone is busy preparing and organizing the food and kitchen you can have brown paper bags for the kids to start collecting their supplies they will need for their crafts. Give them a printed list that you have made out for them to check off, kinda like a scavenger hunt. Some of the things on the list would be: leaves, pinecones, twigs, feathers, wildflowers, some vines, and flat stones. That will keep them occupied for a little while outside!
Here are 10 DIY ideas of things to do and make with things you would find outside of your cabin.
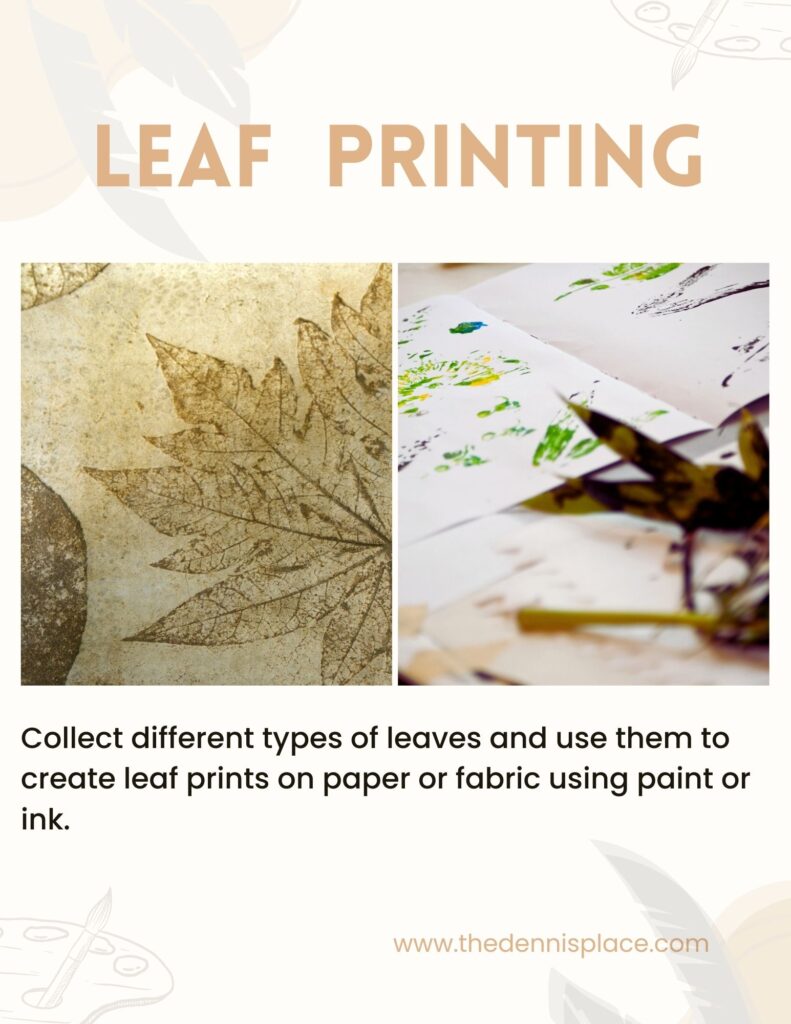
This activity will invite everyone to explore the intricate patterns and unique shapes of all the different types of leaves. With a few simple materials like leaves, paper, paint or ink, and brushes you can turn a blank canvas into a masterpiece.
Have everyone get their leaves out of their bags. Make sure there are various sizes, shapes and textures, each one will turn into a work of natural art.
Once you’ve collected an assortment of leaves, it’s time to get started! Lay out your paper, watercolor paper or even fabric. Position the leaves on the paper to create a symmetrical design, maybe an abstract arrangement or a vibrant collage of them all.
Next select your paint or ink colors. You can choose bold vibrant hues or muted earth tones. Apply the paint or ink evenly to the surface of the leaves, ensuring that each leaf is thoroughly coated.
Press the painted side of the leaf onto the paper, make sure you ensure a full imprint. Peel the leaf away, revealing the intricate details transferred onto the paper. Repeat the process with different leaves and colors. You could even experiment with layering, overlapping and interweaving to create depth and complexity.
Let them dry and then you cans reflect on your creativity! You might consider framing your leaf prints and creating a gallery for all the family members to observe. Some other neat ideas might be to make them personalized greeting cards, bookmarks or even gift wrap. What a neat souvenir to get to take home from the family reunion.
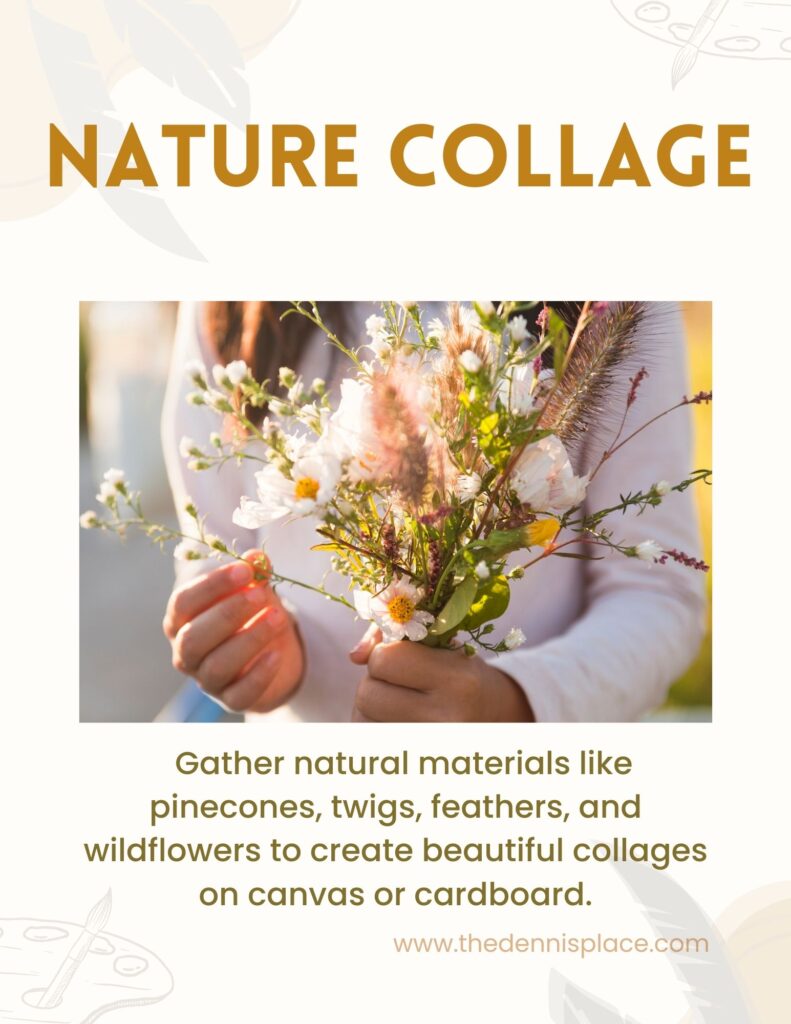
This idea may be an entire day activity. Depending how long your family reunion is, this nature collage could have you venturing into the woods or one of the many trails. Look for the materials needed for this that catch your eye. Look for fallen pinecones, weathered twigs, and feathers that are scattered along the forest floor. Look for different hues of wildflowers.
Once you’ve gathered your collection of natural treasures, now comes the process of arranging and attaching your elements. You can apply glue to make things stick together. Try layering and overlapping different materials to create depth. You could use these collages to decorate the tables for dinner later and to place around the cabin for everyone’s enjoyment.
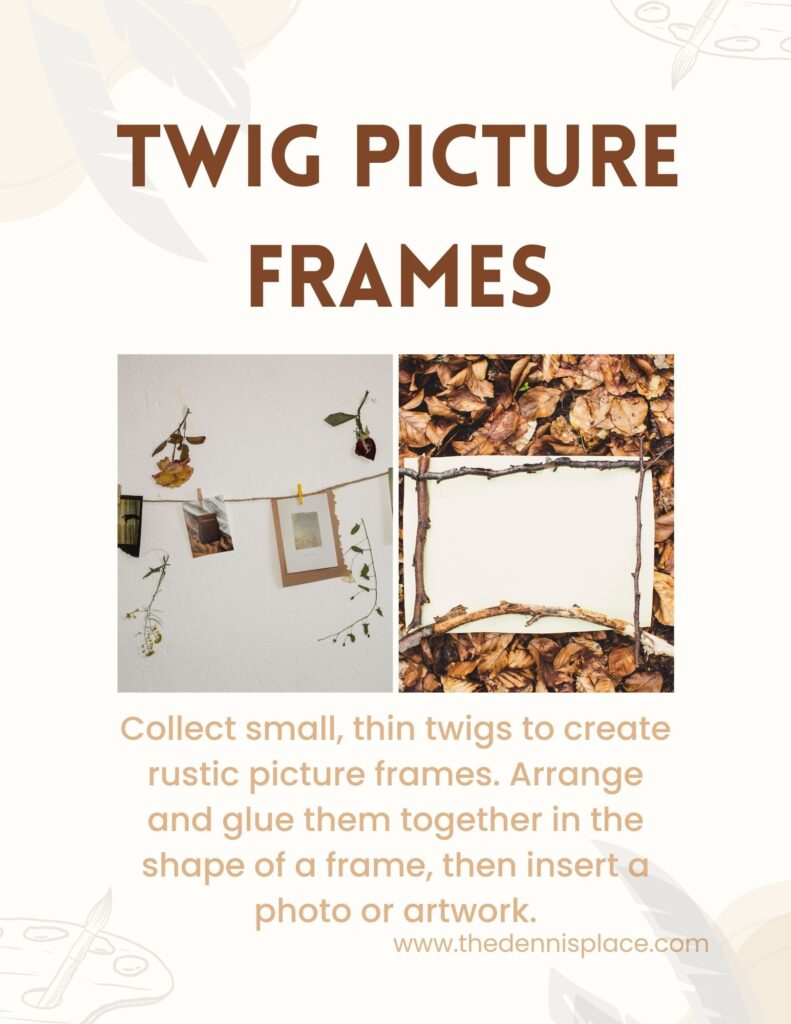
One idea for the family reunion would be to bring old photographs to reminisce of all the ancestors that has gone on. What a better way to keep those memories of the past in a twig picture frame that you made at the family reunion. Just some twigs, glue, cardboard and your treasured photos, you’ll create handmade frames.
Go look for fallen twigs of varying lengths and thicknesses. Embracing the textures, knots, and unique shapes that make each twig different, but when it comes together, makes a beautiful statement.
Once your’ve collected an assortment of twigs, get a piece of cardboard and cut it to your desired frame size. Take a minute to arrange the twigs, observing their natural curves and patterns. Start assembling them into a frame that will enhance and protect your cherished family moments.
With glue carefully attach the twigs to the cardboard. Position each piece to form a frame. Start getting excited because you will have a display that will captured memories of joy, love and togetherness! Display them proudly on your mantel, shelves or walls, inviting anyone that sees it to glimpse into your family’s fun moments at the family reunion!
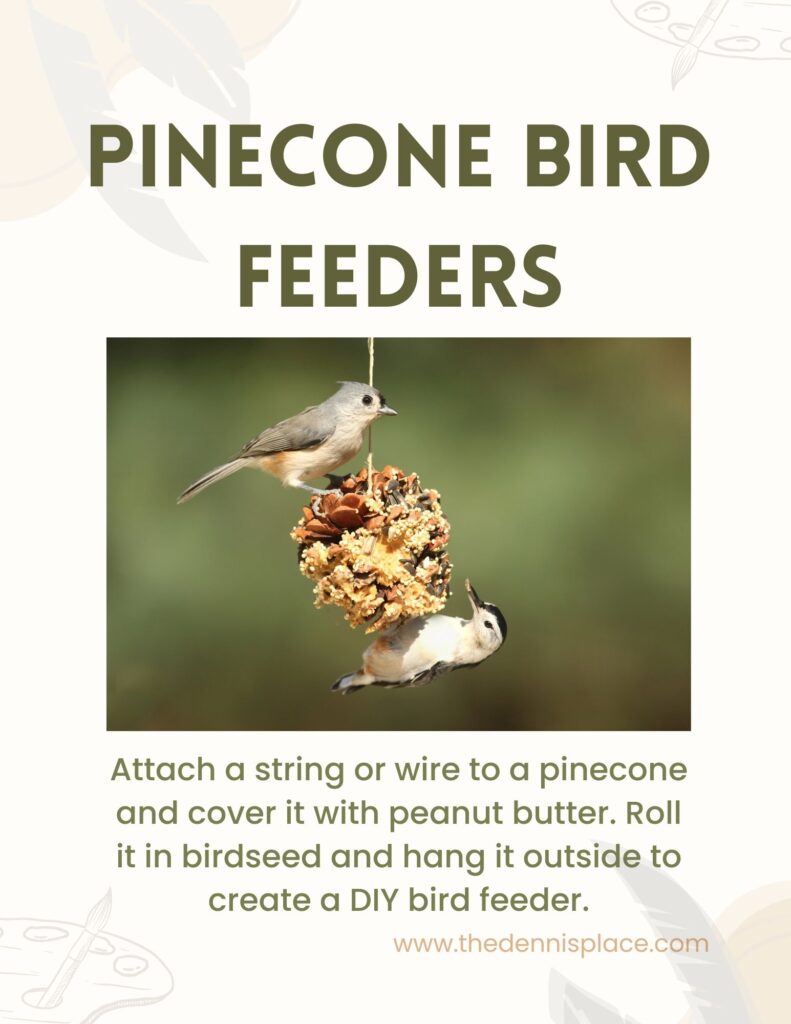
With pinecone bird feeders, you have the opportunity to craft a beautiful and functional piece that provides nourishment for our feathered friends.
Start this project by venturing out onto the trails, the cabin’s back yard or down by the lake. Collect pinecones of all shapes and sizes. Once you’ve gathered an assortment of pinecones, attach a string or wire securely to each pinecone, creating a convenient way to hang them from tree branches or hooks. This will allow the birds easy access to the feeder while keeping it elevated and out of reach from other creatures.
Coat the surfaces of the pinecones generously with peanut butter, making sure to cover the crevices and gaps. The sticky texture of the peanut butter acts as a perfect adhesive for the birdseed, ensuring it adheres to the pinecone and remains accessible to the birds.
Roll the peanut butter-coated pinecones in birdseed, gently pressing the seeds into the sticky surface. Use a variety of birdseed, incorporating different sizes and textures to attract a diverse array of bird species.
Once complete, find the perfect spot to hang your pinecone bird feeders. Ideally, choose a location that is easily visible from your widows. Taking this feeder home and seeing it for the next few weeks to come in your backyard will be sure to remind you of a great time you had at the family reunion.
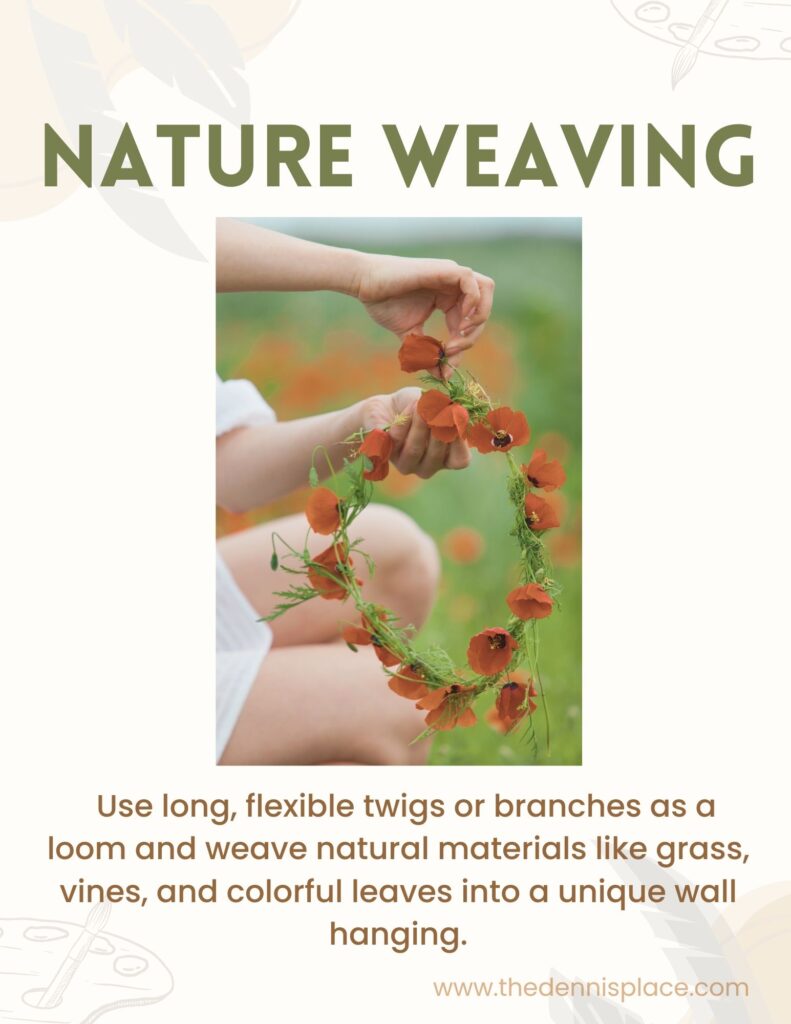
Another idea while you are gathered together at the cabin for your family reunion, another craft idea would be to do nature weaving. Encourage everyone to collect an assortment of natural materials that capture their imagination – twigs with interesting shapes, long blades of grass, flexible vines, and vibrant leaves.
After everyone has collected their materials have everyone gather in a big circle and have all your materials within reach. Begin selecting a sturdy twig as the base for your weaving. Invite everyone to select their preferred natural materials – blades of grass, vines, or leaves and begin weaving them through the twigs. As you are weaving your materials I think you will engage in conversations, sharing stories, laughter and memories. And that would be even better than what you are weaving together!
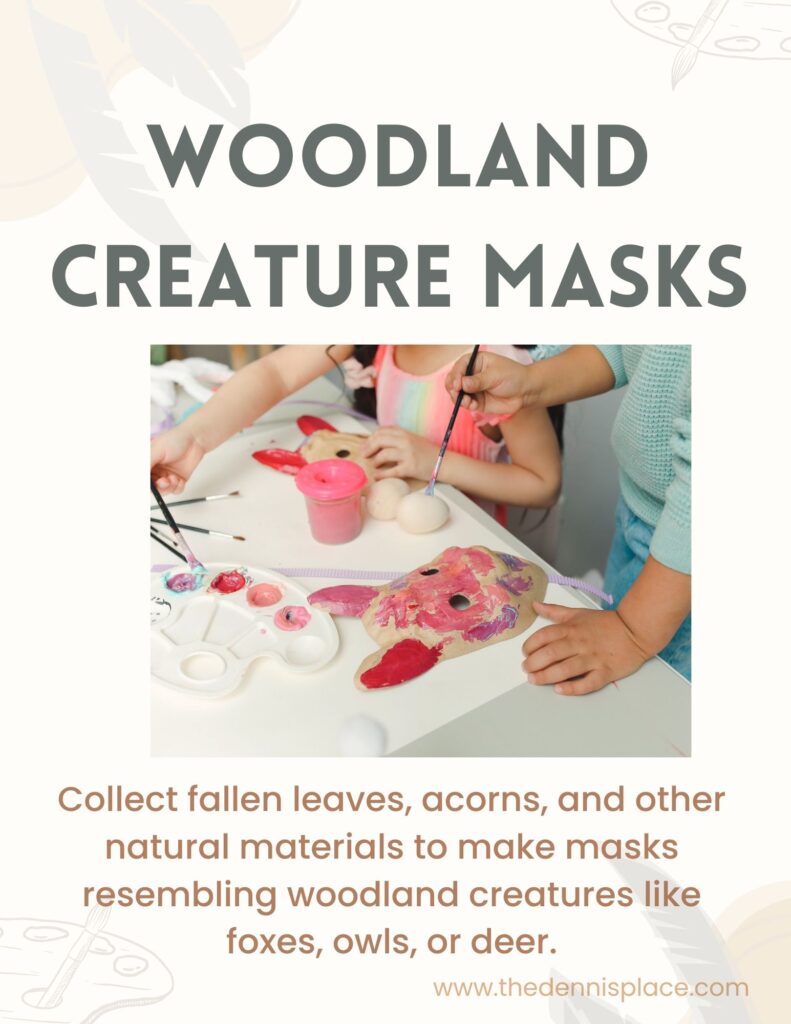
It’s time to let your imagination run wild while you are staying at the cabin near the mountains. This project that you may choose while being together at the family reunion requires leaves of different shapes, sizes, and colors. Look for acorns, twigs, or any other natural treasures that can be transformed into unique mask adornments.
Cut a cardboard into the desired mask shape, ensuring it comfortably fits the contours of your face. Each family member can select their preferred shaped or creature to embody, whether it be a deer, a fox or wise owl.
With paint and brushes in hand, it’s time to bring your woodland creature masks to life. You will transform the cardboard base into a canvas where the spirit of the forest can be captured. Now comes the fun part! Start to embellish the masks with natural materials. using glue or other adhesive, carefully attach leaves to create ears or feathers, and adorn the masks with acorns, twigs, or other forest treasures that mimic the features of your chosen woodland creatures.
Once the masks are complete, secure them using string or elastic, allowing each family member to show off their creation. Observe the world through new eyes, marveling at the beauty of nature.
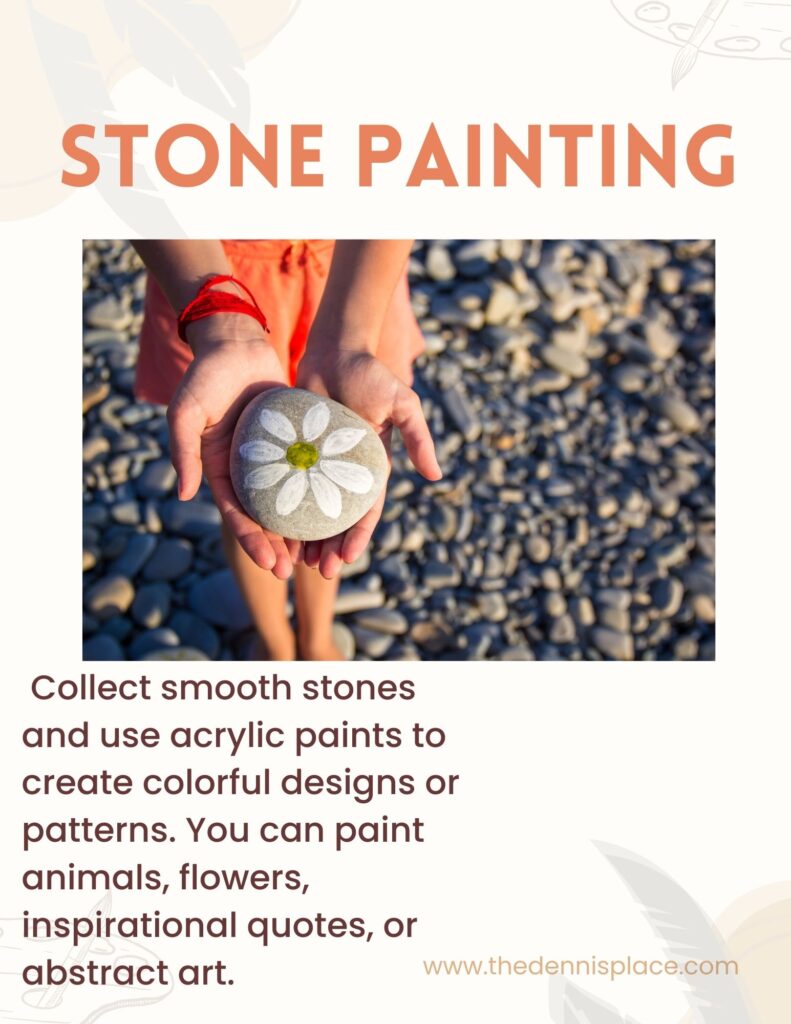
If I was choosing one of my favorites, this is the one I would probably have to pick! I have painted small rocks and I have received painted rocks before and they are fun to give and to receive! This would be another perfect keep sake from the family reunion. You can take the painted rocks and take them home and enjoy them in your flower garden or you could take the painted stone out to one of your loved ones cemetery stone. Place it on it or near their headstone. Just to have a moment of remembrance.
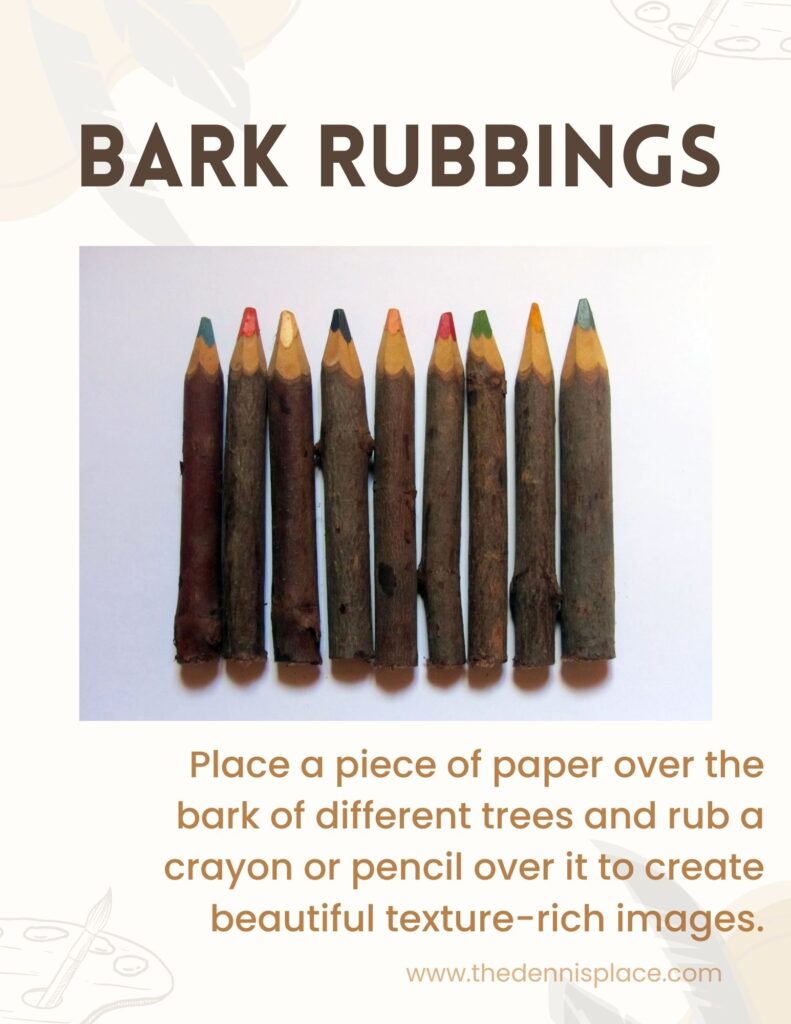
Bark rubbings lets you capture the patterns found on the tree bark and then translating them into unique works of art. Just a few simple materials – paper, crayons or pencils, and tape, you can make all kinds of pieces of artwork.
Place a sheet of paper against the bark, making sure it is securely held in place with tape. Take a crayon or pencil and hold it at a slight angle against the paper. With a gentle but firm stroke, rub the crayon or pencil back and forth across the paper, allowing the texture of the bark to be transfered onto the page.
Experiment with different colors of crayons or pencils. Play with the pressure applied to the paper, allowing for variations of intensity and depth of the rubbings. This might be the perfect project to use for a family tree that you could make at the family reunion. See how far back you can trace your heritage, just like you traced the heritage of the tree.
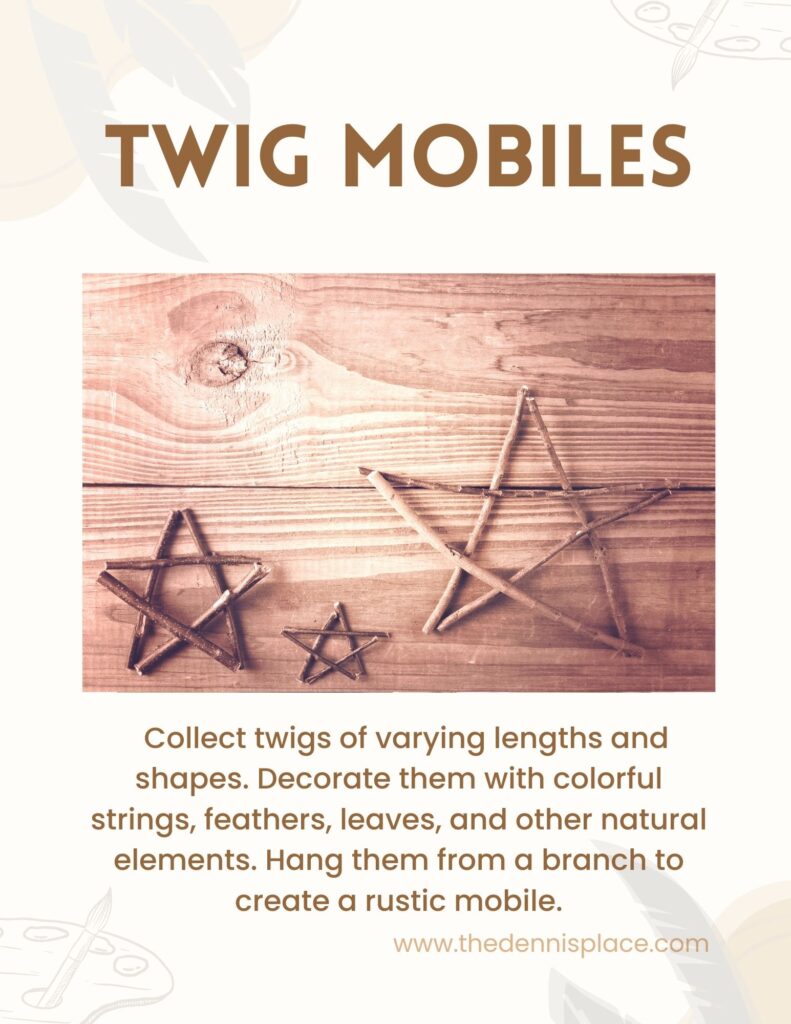
I remember one summer I was playing at my friends house and they lived close to the river. We found large sea shells all along the bank of the river. So we gathered about 10 up and took them back to her house and make a sea shell mobile for our teacher. This is the same concept as the sea shells but this one is with twigs and other elements of nature that you find during your family reunion.
Gather an assortment of twigs, each one unique in shape and texture. You can arrange them in different lengths. Consider how the twigs can be assembled, overlapping and intertwining with one another to create a sense of movement and balance.
Next you could gather feathers, leaves, beads or any other elements that would make this mobile feel more like your own. You can do this project on your own individually or work together as a family, sharing ideas and collaborating to create one mobile.
Now you can hang your twig mobiles in a central location, allowing them to sway and bring rustic beauty to your family reunion space! Observe as they catch the light and cast shadows, these will be a visual reminder of the creativity, love and connection amoung family members!
And the last one is …
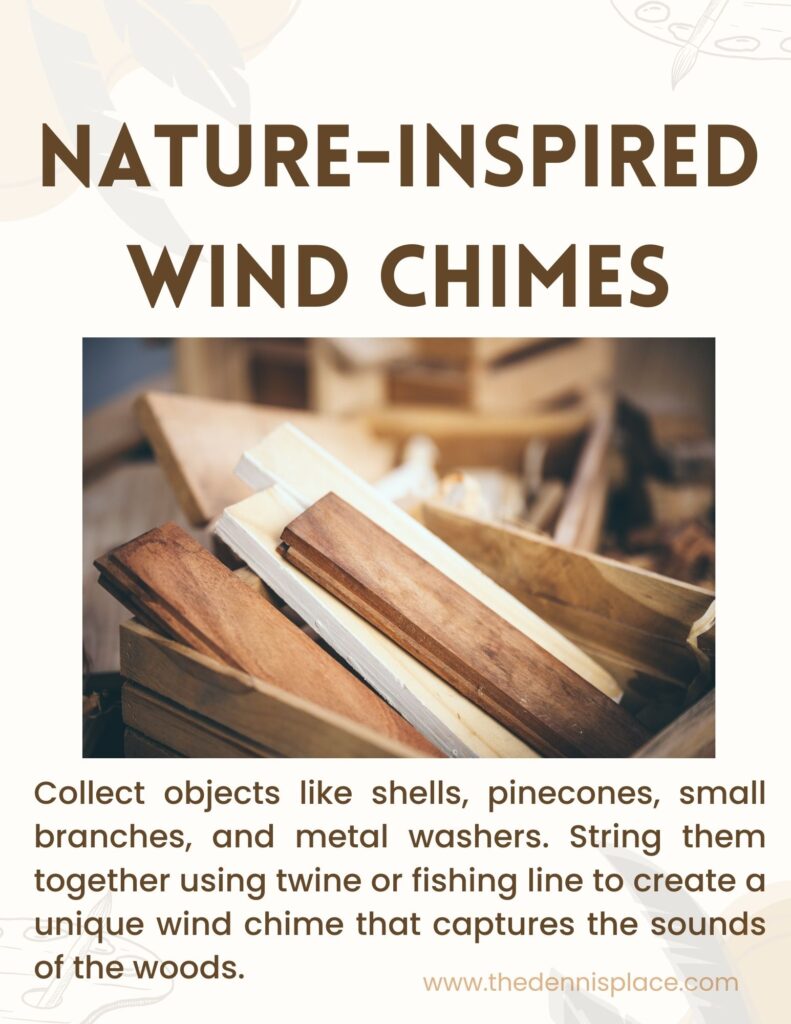
This last one you can just go crazy with! Find shells, pinecones, small branches, metal washers, string or fishing line as you can make all these materials work for a wind chime.
Arrange the shells, pinecones, and small branches in a way that creates visual interest and allows for gentle movement when the wind blows. Attach the elements to a sturdy base using string or fishing line. Allow the natural materials to interact with one another, creating harmonious melodies that resonate with the breezes. The metal washers or other shiny objects that will catch the wind and add a touch of sparkle and enhance the chimes quality.
Find the perfect spot to hand the wind chimes. Each chime is a reminder of the beauty you found in the simplest moments at the family reunion. Let the melody carry on throughout your family with peace and love!
These arts and crafts DIY projects you can use for your family reunion offer a wonderful opportunity to create lasting memories! Each activity invites you and your loved ones to do something together whether it’s through leaf printing, stone painting, bark rubbings, twig mobiles or wind chimes. These activities will serve as a bridge to connect you till you meet again at the next reunion. Have fun and send me pictures of what you did!
All my love,
Clarie

